Migrate from Otax Web Hosting to Louhi Hosting
The goal of this guide is to migrate a website from Otax Web Host to Louhi Hosting.
Prerequisites
- You have access to your associations Otax Web Host account
- You have access to a Louhi account and have bought a hosting package
- You have a domain name that you can use for the website. Either you have bought it from Louhi or you have access to the DNS configuration of the domain name.
If you need a database to run your website, you need to buy a package that includes a database. Cheapest option with a database is the "Perus" package. The "Perus" package should be enough for most associations. If you don't need a database, you can buy the "Mini" package.
1. Log in to your Otax Web Host account with a SSH client
SSH is a command line tool that allows you to connect to a remote server. You can use it to transfer files between servers and to run commands on the server. Most operating systems (Windows, Linux and Mac) have a SSH client installed by default. Open your operating systems terminal application. In Windows and Mac you can find it by searching for "terminal" in the start menu.
Run the following command in the terminal to connect to your Otax Web Host account:
ssh {association}@otax.ayy.fi
# If you want to use a specific key file, use the -i flag to specify the path to the key file
ssh -i '{Path to your key}' {association}@otax.ayy.fi
Replace {association} with your associations username.
2. Save the contents of your database to a file
Your database account on Otax Web Host has a username and a password. The username is the same as your associations username.
The password can generally be found mysql_password.cnf file in your home directory. That file can also be used to connect to the database with a MySQL client.
If you don't have a mysql_password.cnf file, you might be able to find the password in the configuration file of your website.
For example, if your website is a WordPress website, you can find the password in the wp-config.php file as the value of the DB_PASSWORD constant.
# If a mysql_password.cnf file exists in your home directory, you can use it to connect to the database
mysqldump --defaults-extra-file=mysql_password.cnf --single-transaction {association} > database_backup.sql
# Alternatively, if there is no mysql_password.cnf file, you will have to enter the password manually
mysqldump -u {association} -p --single-transaction {association} > database_backup.sql
Replace {association} with your associations username.
3. Copy the contents of your home folder to your Louhi account
You can use the rsync command to copy the contents of your home folder to your Louhi account.
We will exclude the www-data folder from the copy, because that folder is named differently on Louhi.
rsync -rvzP --exclude 'www-data' ~/ {louhi username}@{louhi server}:~/
This will copy all the files and folders from your home directory to your Louhi account.
If you want to copy only specific files and folders you can list them after the ~/ part of the command. For example, if you only want to copy the database backup file, you can run the following command:
rsync -rvzP --exclude 'www-data' ~/database_backup.sql {louhi username}@{louhi server}:~/
Replace {louhi username} with your Louhi username and {louhi server} with the server address of your Louhi account.
4. Copy your website files from www-data to the Louhi public_html folder
Otax Web Host stores your public website files in the www-data folder. Louhi stores them in the public_html folder.
Similarly to the previous step you can use the rsync command to copy the files over.
rsync -rvzP ~/www-data/ {louhi username}@{louhi server}:~/public_html/
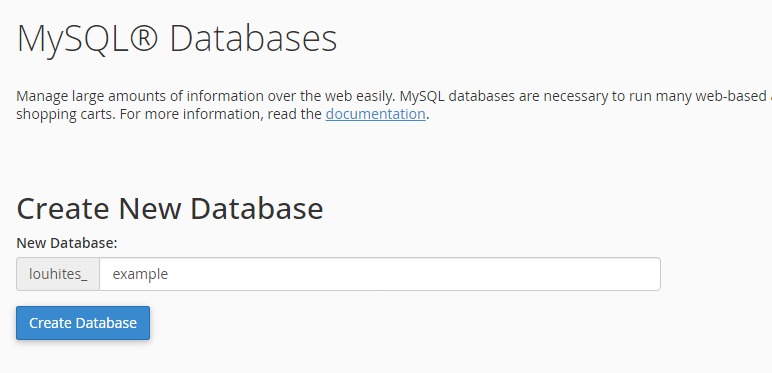
5. Create a database on Louhi and add a database user with privileges to it
You can create a database and a database user with the Louhi control panel.
First go to the "MySQL Databases" tool.

Then create a new database. The name of the database will always be prefixed with your Louhi username.
Then create a new database user.

Then add the database user to the database and give it the necessary privileges.

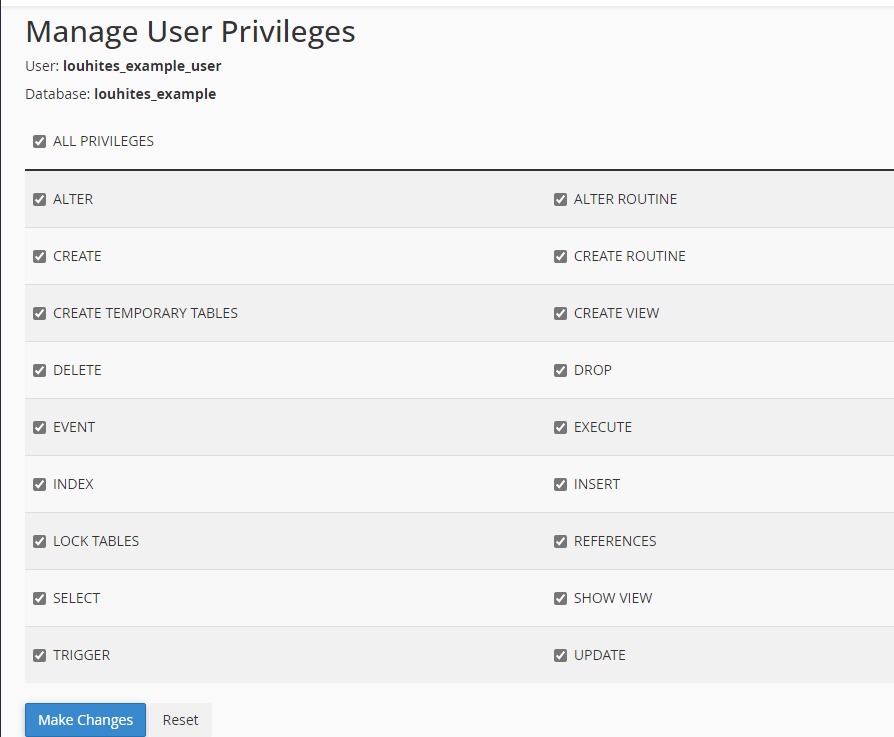
Save the database name, database username and database password for the next steps.
6. Import the database backup to the Louhi database
SSH to your Louhi account and run the following command to import the database backup to the newly created database.
Note that this step requires that you have copied the database backup file database_backup.sql to your Louhi account in step 3.
mysql -u {database username} -p {database name} < database_backup.sql
This command will prompt you for the database password. Replace {database username} with the database username and {database name} with the database name from the previous step.
7. Change the database connection details in your website configuration
You need to change the database connection details in your website configuration to match the new database.
How you do this depends on the website application you are migrating. For example, if you are migrating a WordPress website, you can find the database connection details in the wp-config.php file.
Refer to the documentation of your website application to find out how to change the database connection details.
You might be able to find the database connection details by using the grep command. You can use the previous database password to search for the database connection details in your website files.
grep -r {old database password} ~/public_html/
Replace {database password} with the database password from Otax Web Host. This command will show all the files that contain the database password.